
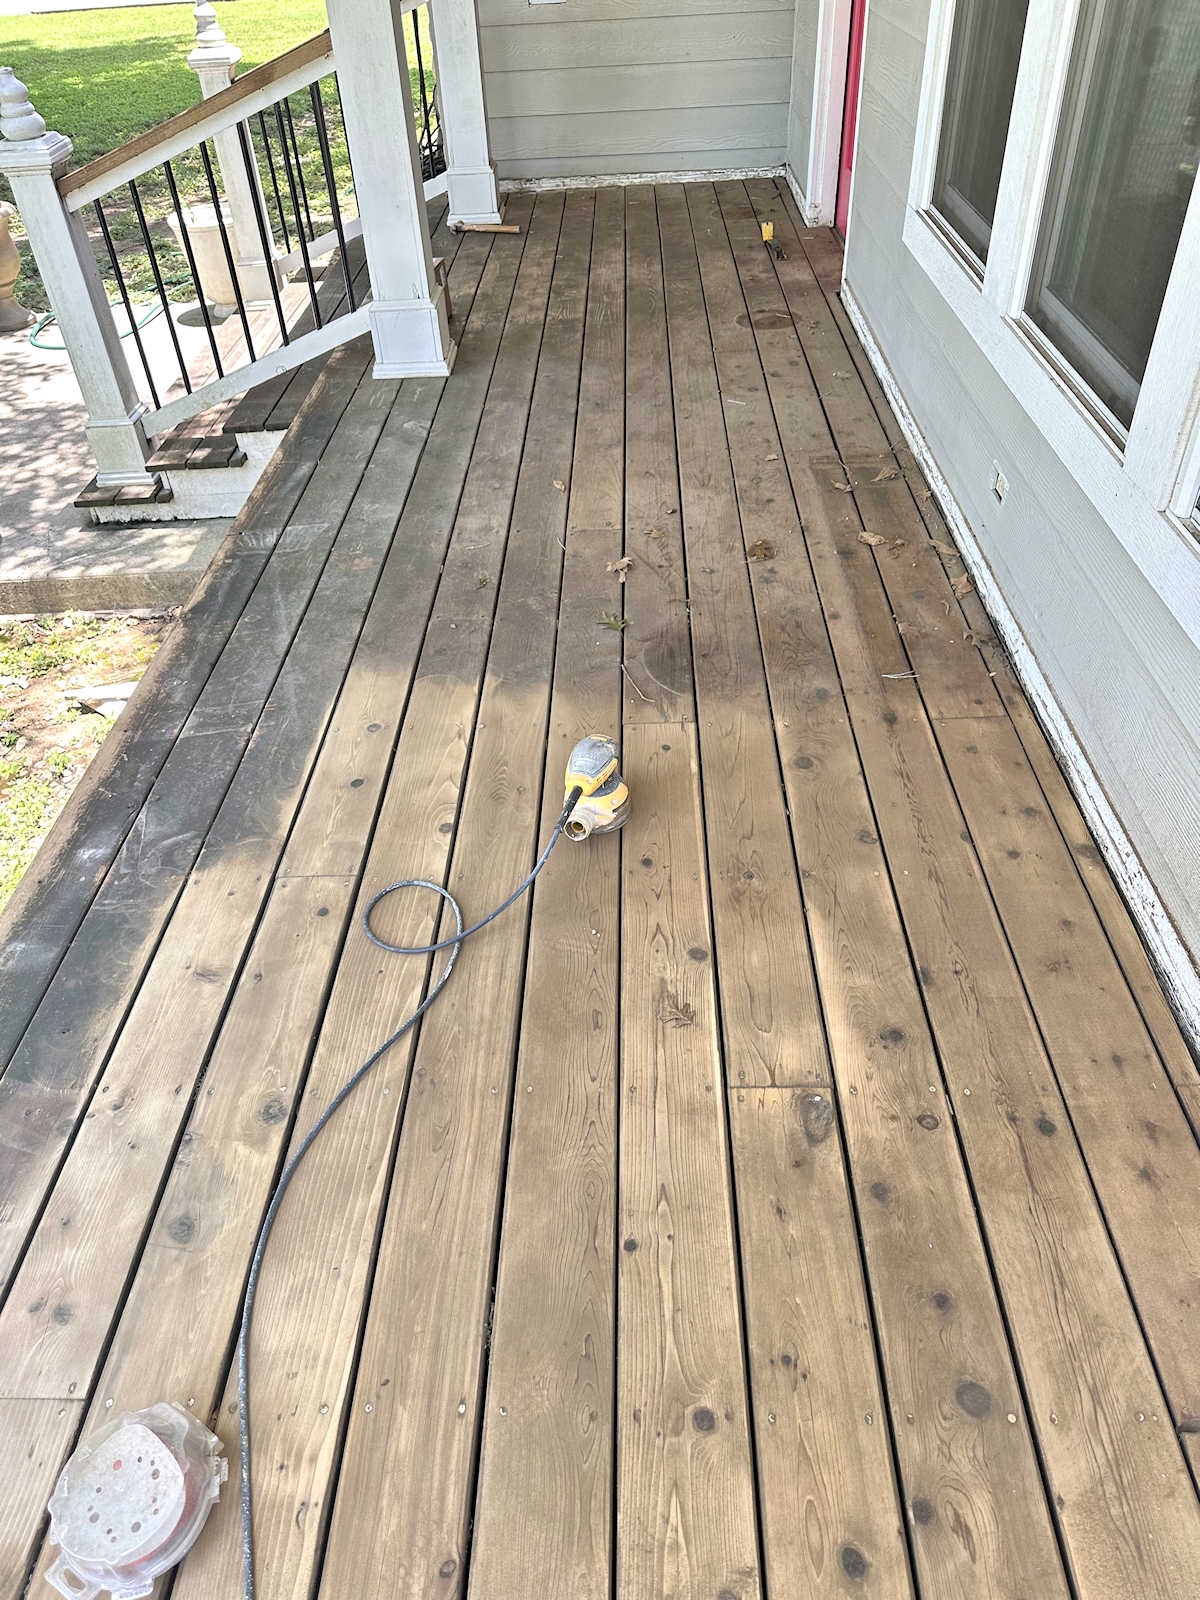
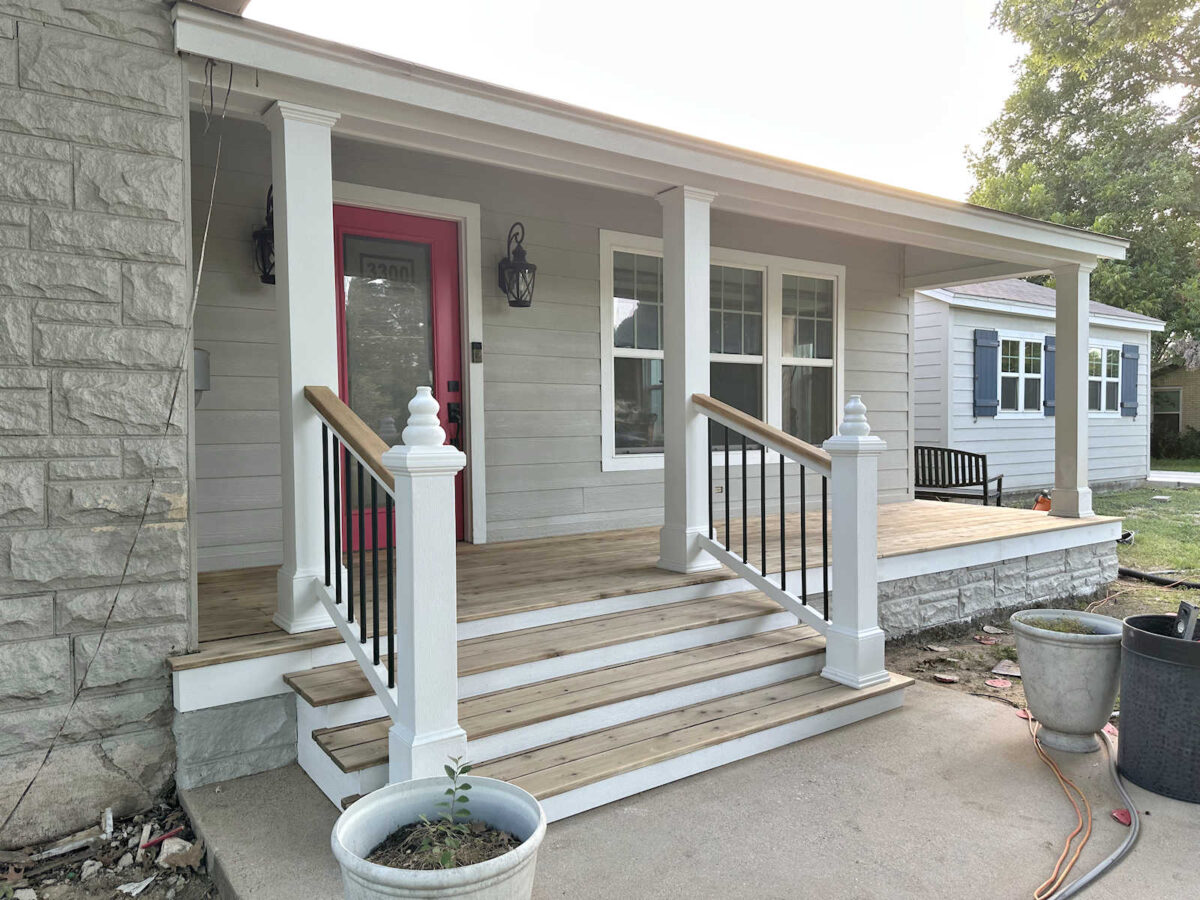
Over the last few days, we had the perfect weather for me to finally be able to seal my cedar front porch with pine tar and linseed oil. The rain stopped, and then I gave it a couple of sunny, dry, hot days to fully dry out. And with a few sunny and dry days in the forecast, yesterday seemed like the perfect day to tackle this project.
Before I could even get to the pine tar application, I had quite a bit of prep work to do. I had already sanded the porch a few of weeks ago, but I had only sanded it with the intent to paint the porch, so it was still looking pretty splotchy with a lot of the old stain left behind. I also didn’t take any time to sand the visible areas between the boards.
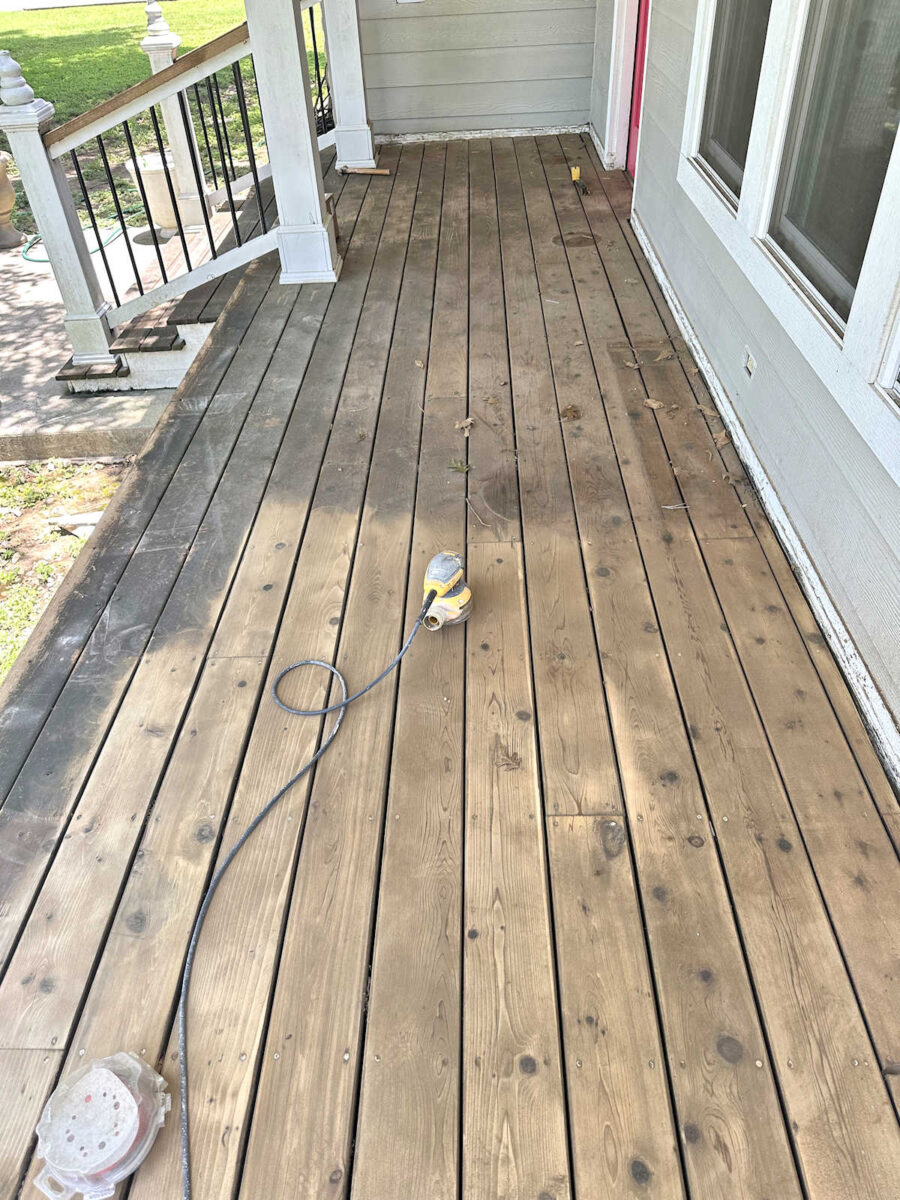
So now that I changed my plan, I basically had to start all over from the beginning. As I’m sure you know, sanding in preparation for primer and paint is a very different thing than sanding for stain. When sanding for primer and paint, the only goal is to make sure that everything is smooth. But when sanding for any kind of stain (including pine tar and linseed oil) that soaks into the wood, the boards need to be sanded a lot more.
And then I sanded the whole thing again with both 60-grit and 80-grit sanding discs. This time, I made sure to get the visible areas between the boards, and I got all of the old stain off of the boards that I possibly could.
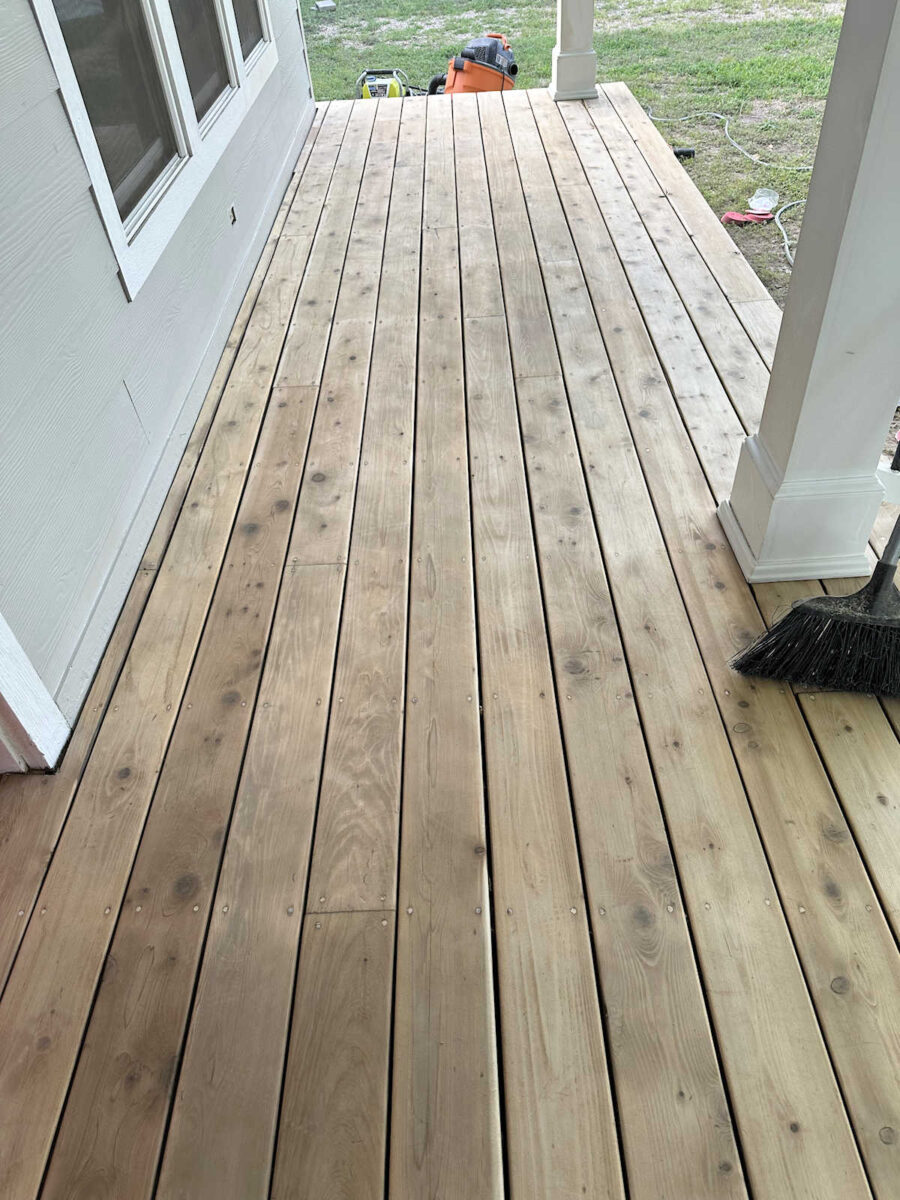
Before applying the pine tar and linseed oil, I tested the boards with the water test to make sure they were ready for a penetrating product. To do the water test, you simply drip water onto the boards (I tested in about three areas) and see if the water soaks in or if it beads up on the boards. If the water beads up on top, you have to do more sanding because if water beads on the boards, the boards won’t soak up the finish. But if the water soaks into the boards, you’re ready for the penetrating finish.
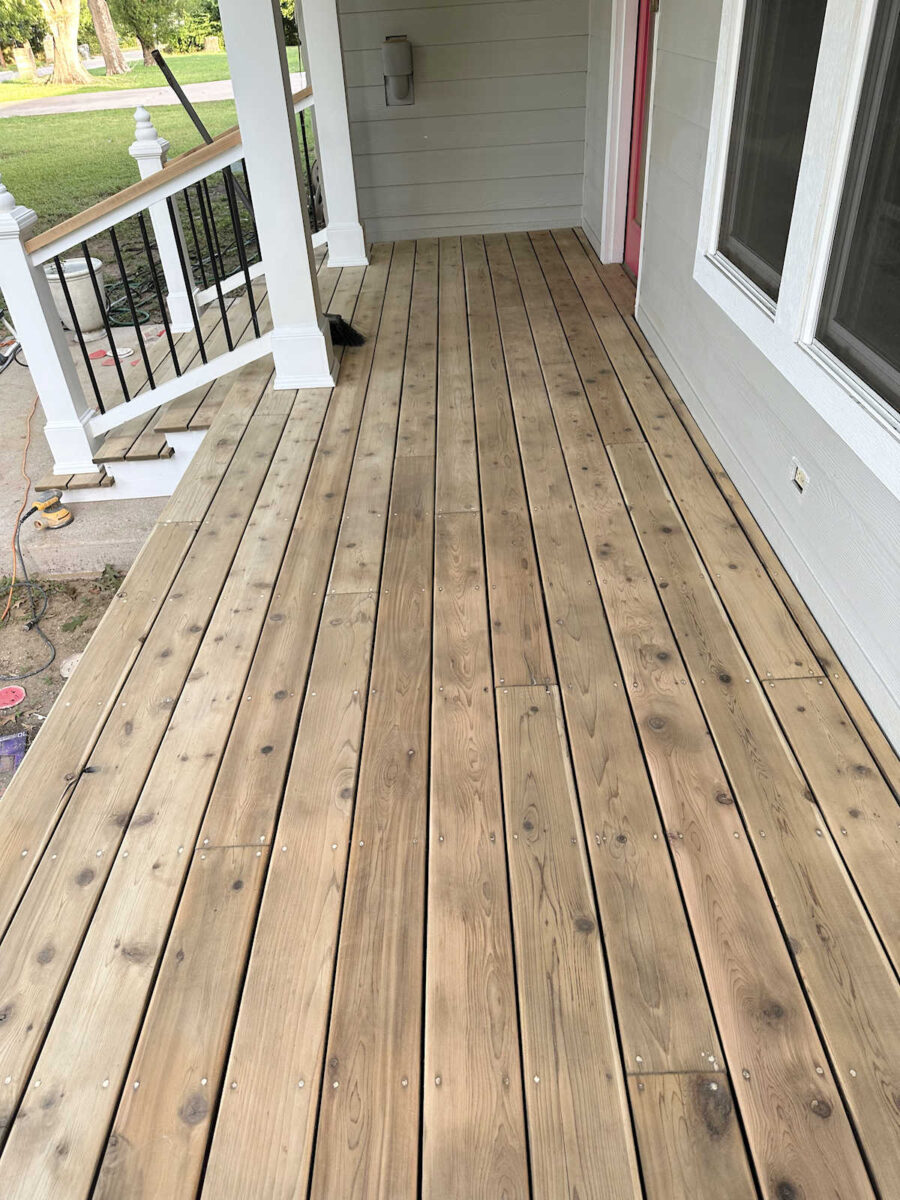
The wood filling, sanding, and cleaning process was the hardest and longest part of the process. I don’t have a fancy dust collector on my handheld sander, so it made a huge mess and left dust everywhere. After everything was sanded, I used my Shop Vac to vacuum the porch boards as well as the siding to remove all of the dust, and then I followed up by sweeping the boards really well to make sure all of the dust was gone.
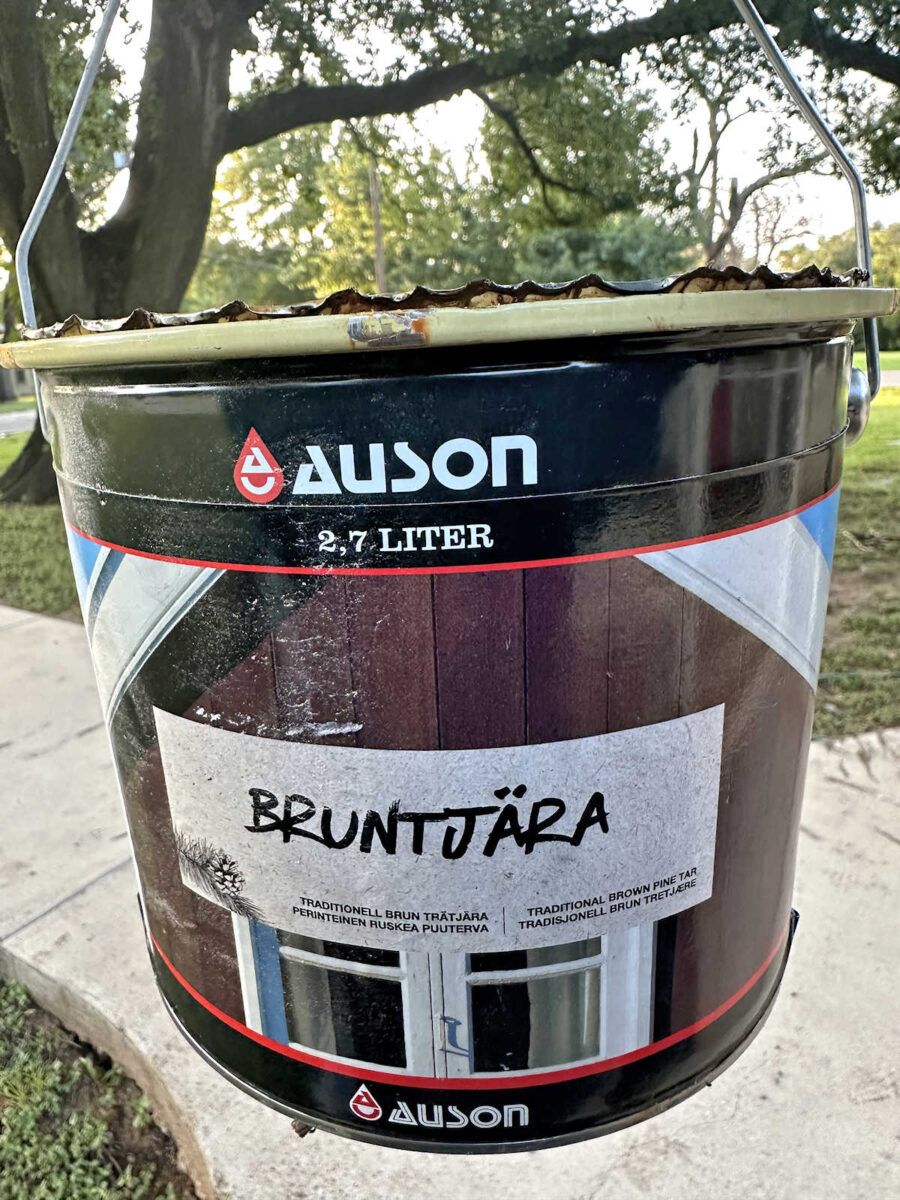
This is the pine tar that I used, which I bought from Earth + Flax, and I chose the Authentic Brown color. It comes in a more natural color if that’s what you prefer, but I love a dark stained porch. Every time I’ve stained my porch in the past, I’ve always chosen a dark color. I just love the high contrast of the dark boards and the white trim.
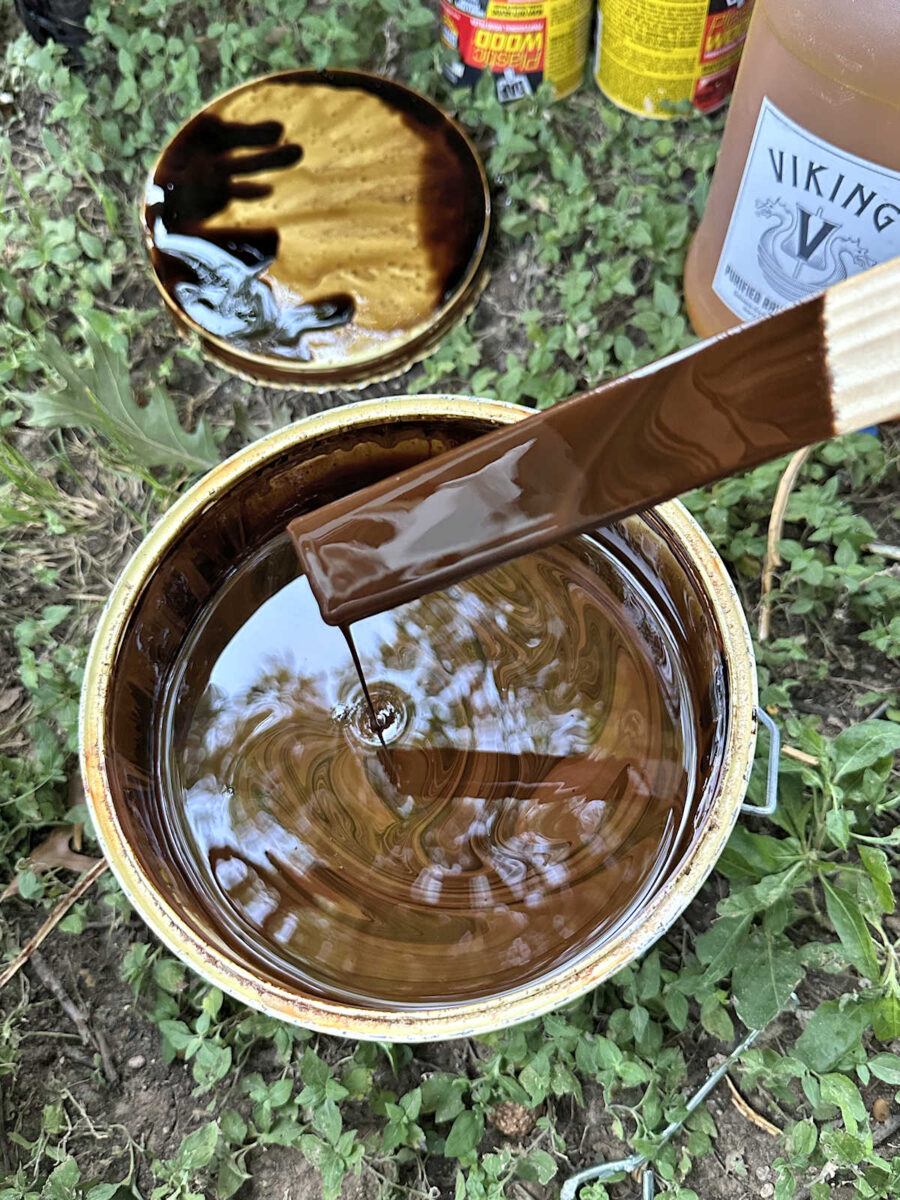
I’ve never used pine tar before, so I wasn’t quite sure what to expect. In my mind, something called “tar” would be very thick, but as it turned out, it was actually very thin. It has to be mixed really well before you mix the pine tar with the linseed oil.
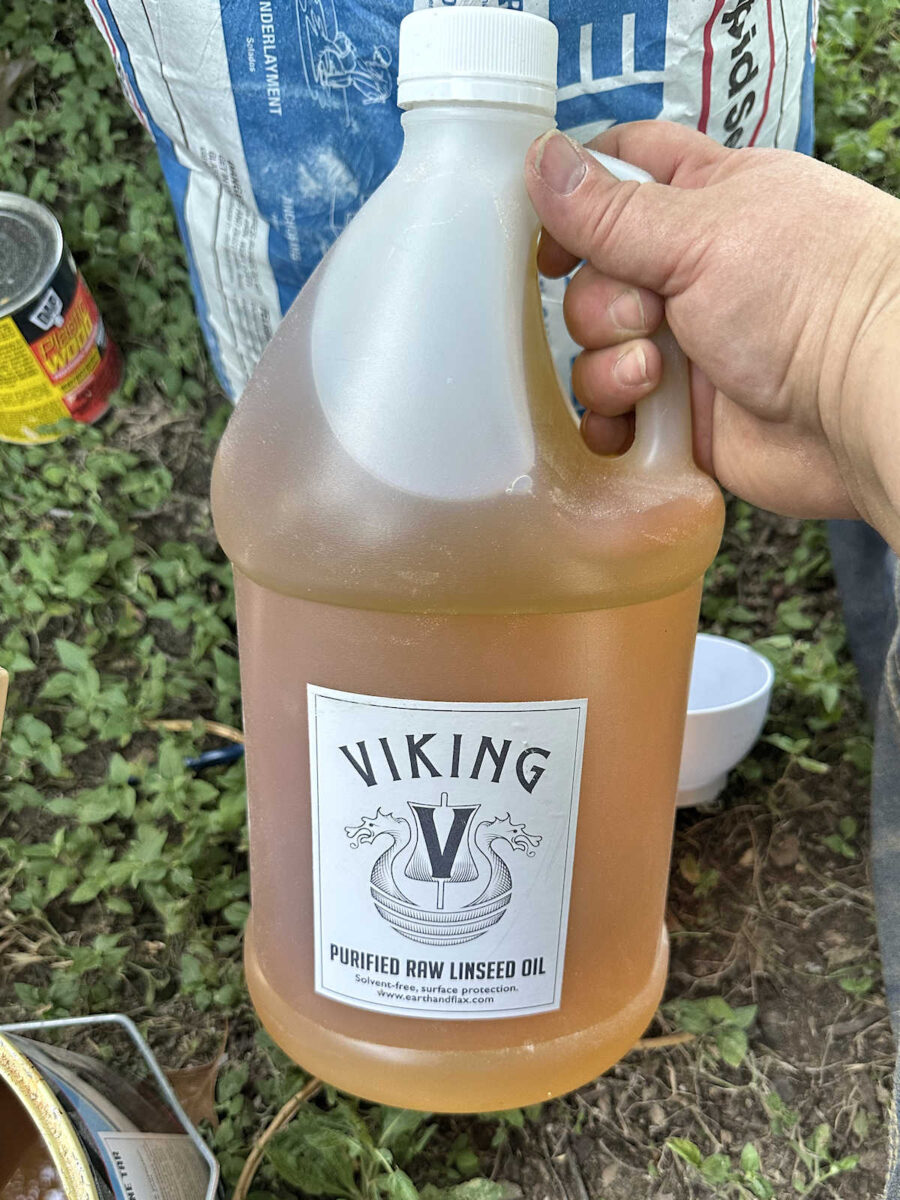
This is the linseed oil I used, which I also purchased from Earth + Flax.
I originally mixed the pine tar and linseed oil in a 1:1 ratio. The color was very solid, so after testing that out on one small board in the far corner, I remixed it to one part pine tar to two parts linseed oil. It was still really dark (which I wanted), but with the new ratio, it looked a lot less solid.
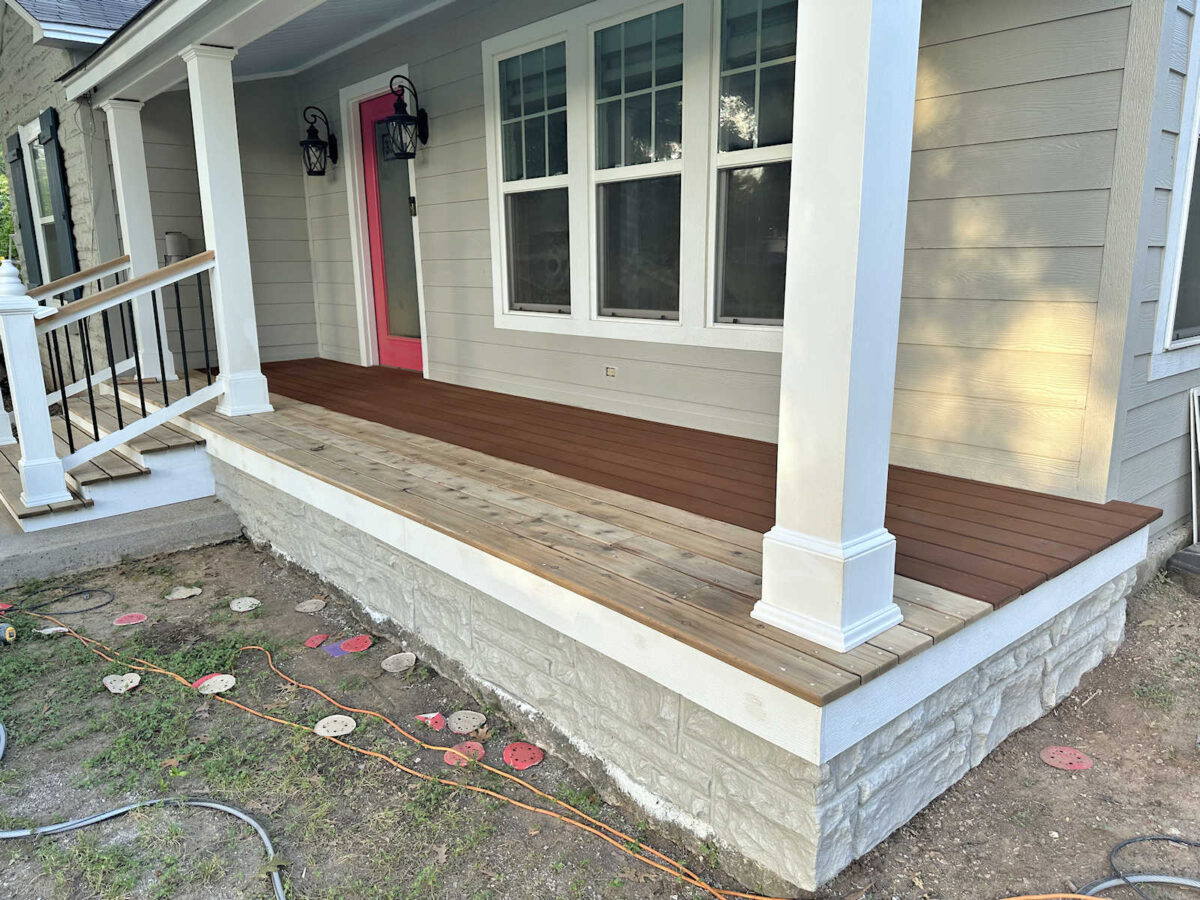
I applied the pine tar/linseed oil mixture with a 3-inch brush. It’s supposed to be applied in thin coats, but I did notice some buildup in areas as I went along. So I did two boards all the way across at a time, let it soak in really well, and then went back and wiped any excess off with paper towels.
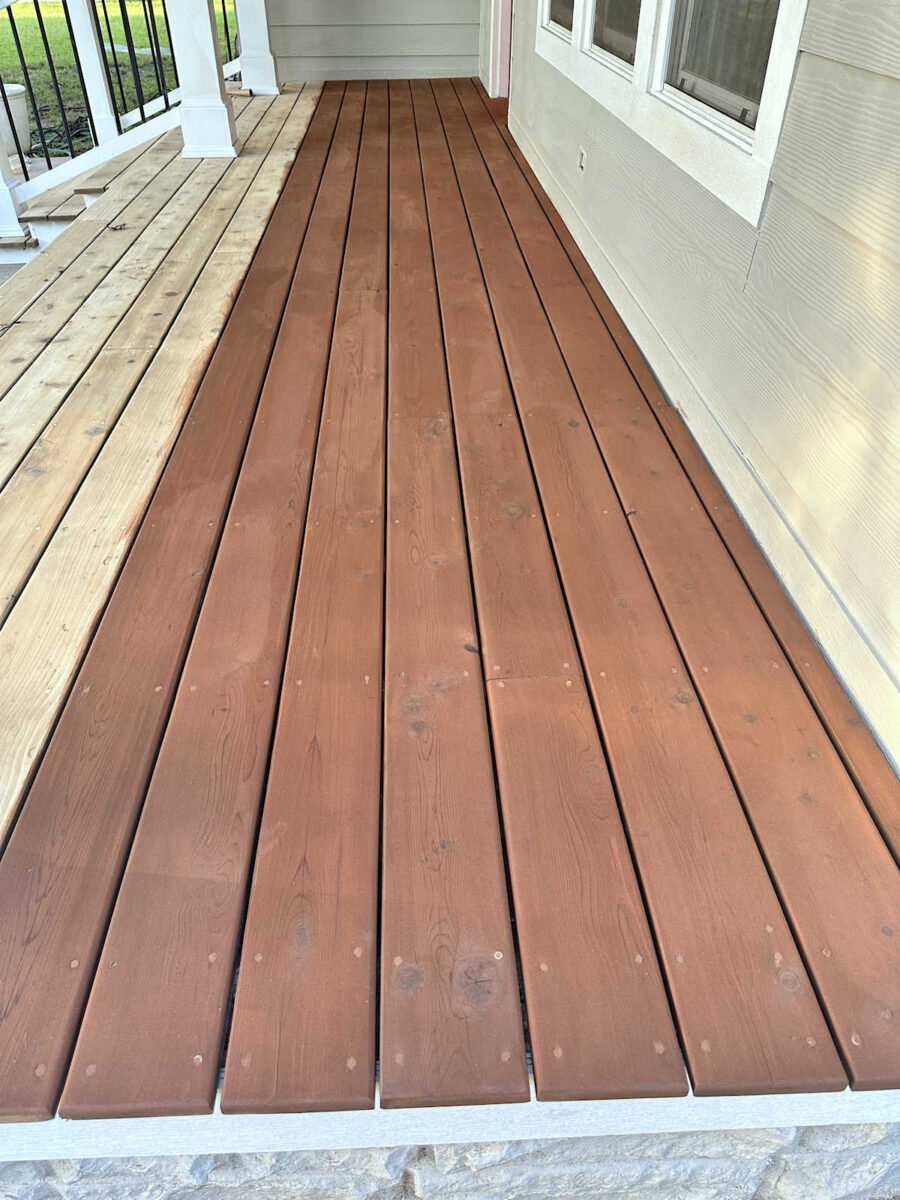
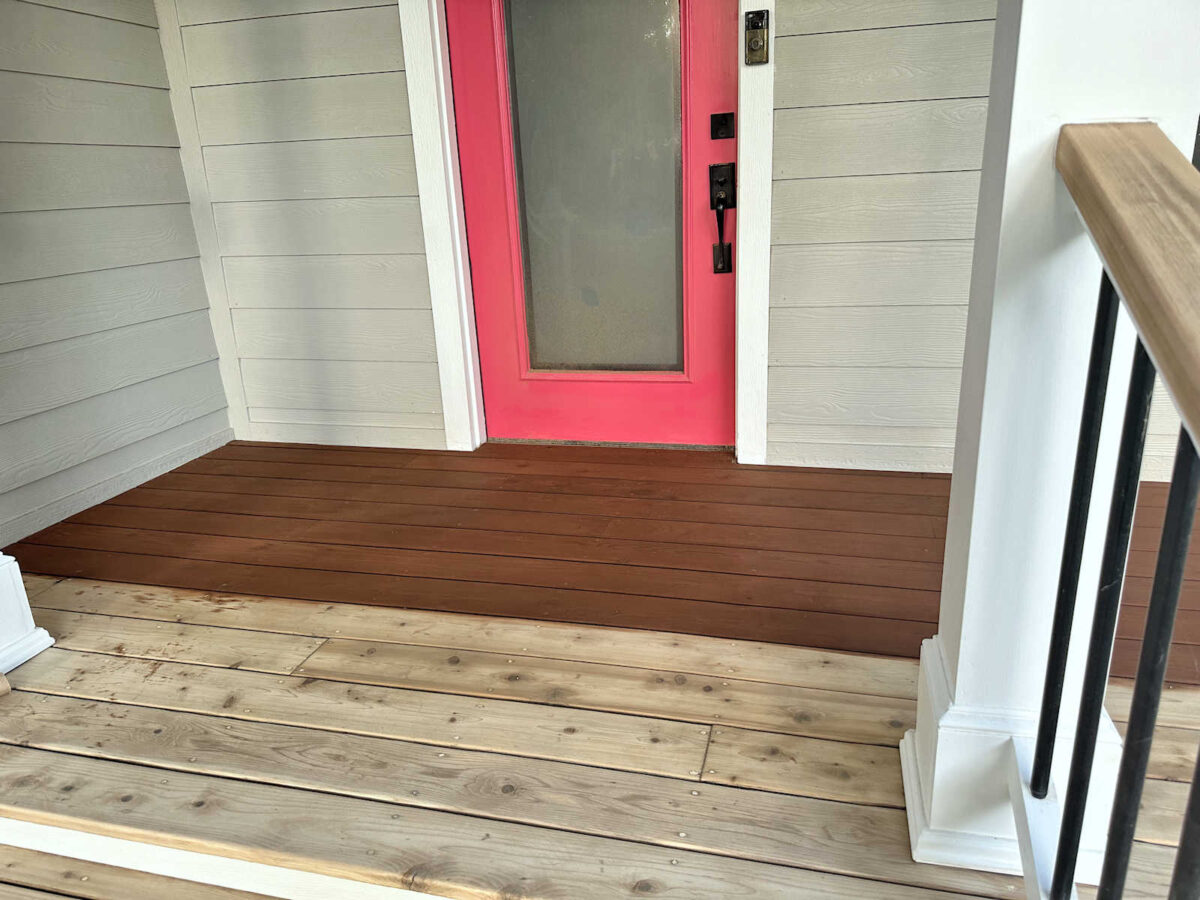
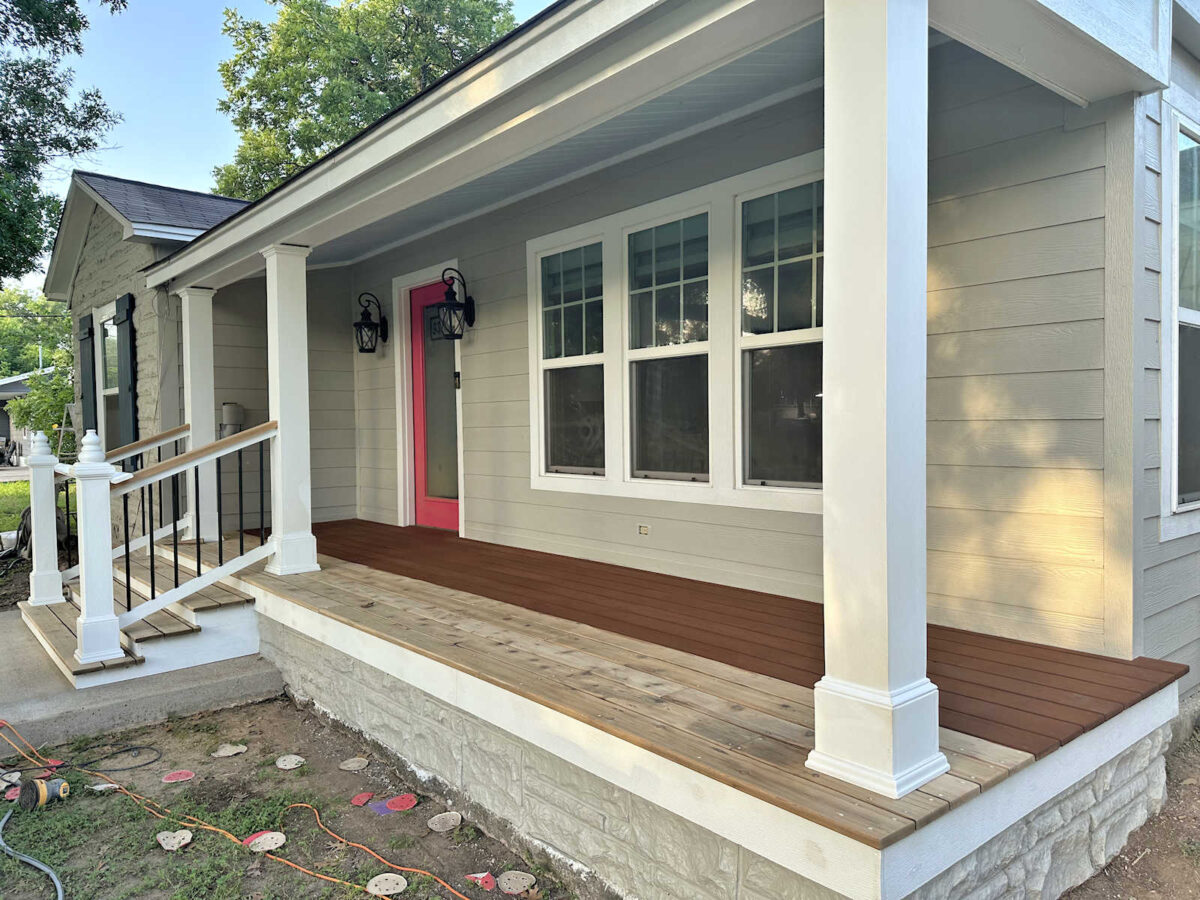
Unfortunately, I ran out of time and didn’t get the pine tar/linseed oil on the whole porch and steps. I worked until 9:30 last night, working by the light of my front porch lights, and then decided to call it quits for the day. But I absolutely love the way this is turning out.
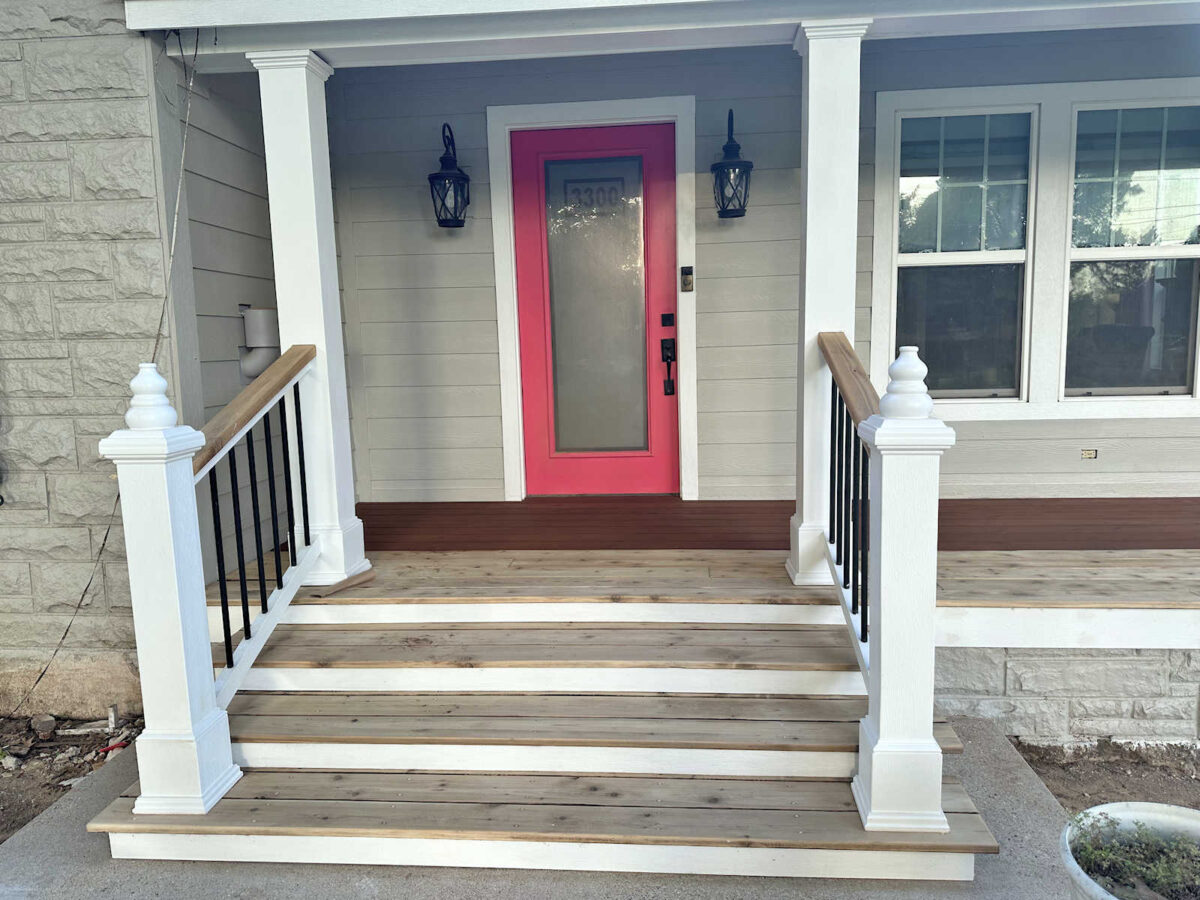
It’s really dark right now, but I’m pretty sure it will fade some over time.
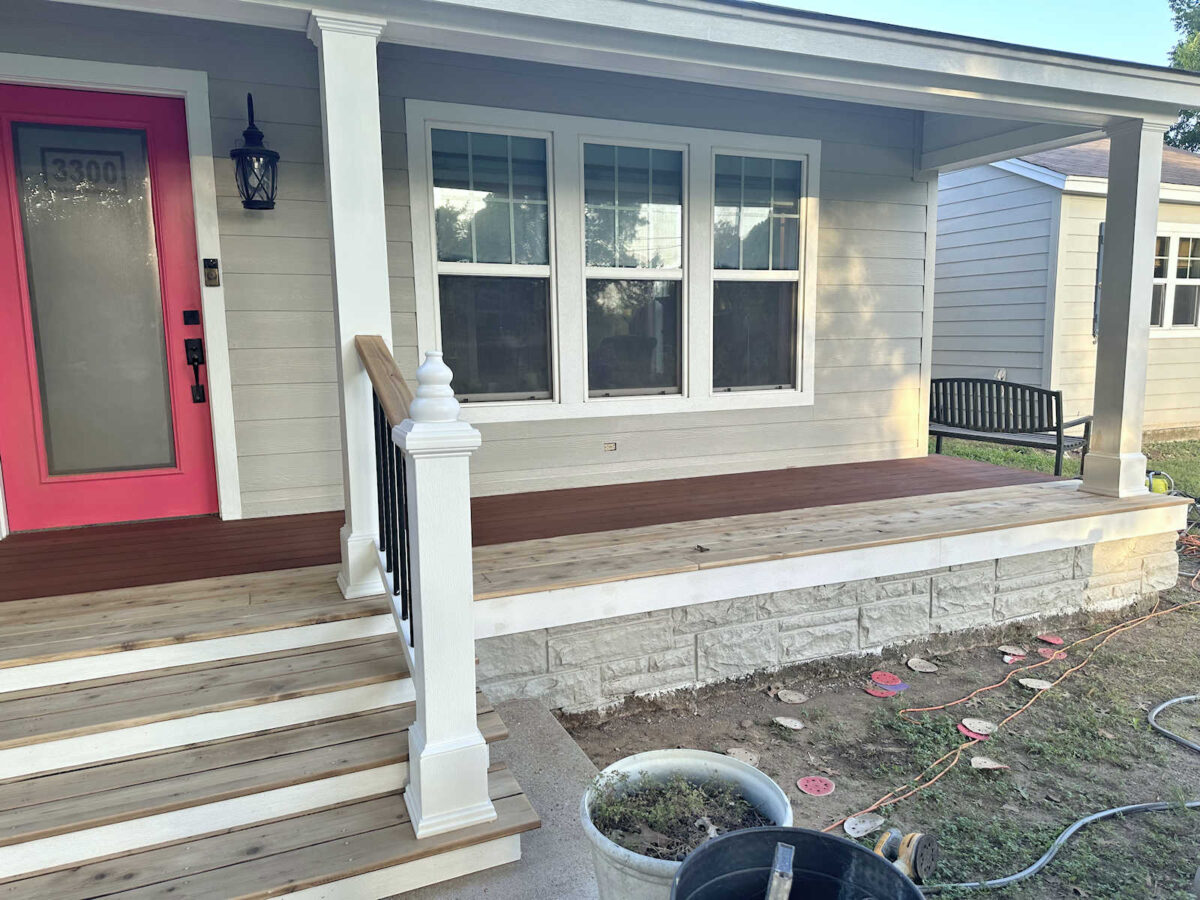
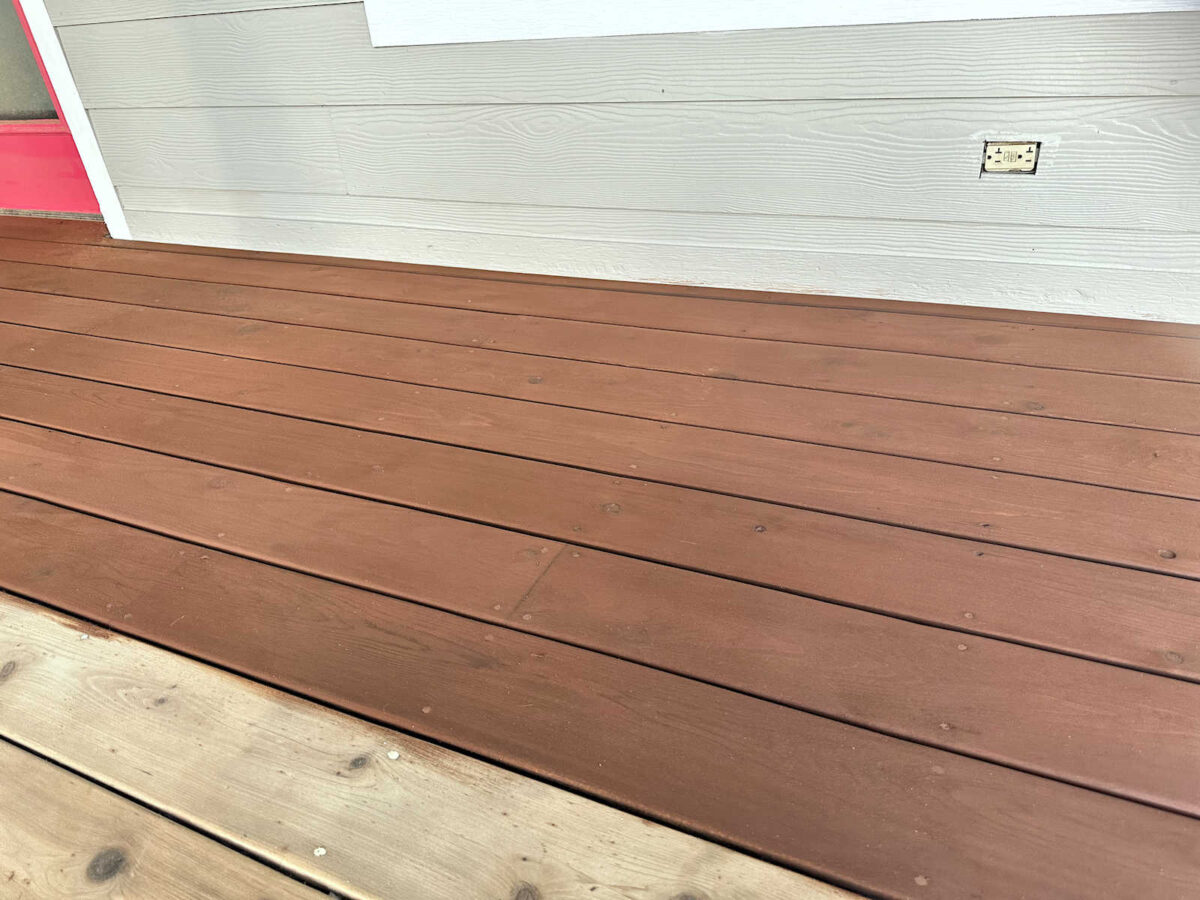
I would compare the look to a semi-transparent stain. You can still see the wood grain and knots, but the color is incredibly consistent over the whole area. And while I had read that the pine tar/linseed oil wouldn’t soak into the wood filler I used, it actually did. I was fully prepared to have to go back and address the wood-filled screw holes separately, but I’m relieved to see that I won’t need to do that.
Since this was my first time using pine tar, and I volunteered to be the guinea pig for those of you who were curious about it, here’s my genuine opinion.
- It’s incredibly easy to apply. I find it much easier to use than any of the prior stain products I’ve used. I was very surprised at the consistent color over the whole area, which is sometimes hard to get with a standard stain product. With stain, you often get darker areas if you’ve already stained an area and then you try to blend in a new area. The color builds, and it gets darker where the brush strokes overlap. That doesn’t always happen, but it’s pretty common with stain. That never happened with this pine tar/linseed oil mixture.
- It has a very strong smell, which I was warned about several times. But the smell is unlike past products I’ve used. The past stains and other products I’ve used have an unnatural chemical smell. That’s what I’m used to. Pine tar doesn’t have a chemical smell, but it does smell like a campfire. After applying it, you will smell like you’ve spent the entire day standing around a campfire. Honestly, I’d rather smell a campfire than strong chemicals.
- The one drawback to pine tar and linseed oil is that it takes a lot longer to dry. After I finish this coat, I will have to wait 72 hours to apply the next coat. And then it takes weeks for it to fully cure. You don’t have to wait that long to walk on it, but it’s a very slow-drying, slow-curing product. So that’s definitely something to consider if you’re wanting a quick turnaround so that you can immediately start using your deck or porch.

Addicted 2 Decorating is where I share my DIY and decorating journey as I remodel and decorate the 1948 fixer upper that my husband, Matt, and I bought in 2013. Matt has M.S. and is unable to do physical work, so I do the majority of the work on the house by myself. You can learn more about me here.